Getting Started with HashiCorp Vault: Securely Managing Secrets and Sensitive Data
Introduction:
In today's digital age, the security of sensitive data and secrets is of paramount importance. Organizations need a reliable and scalable solution to store, manage, and securely distribute these critical assets. HashiCorp Vault, an open-source tool, has emerged as a popular choice for addressing these challenges. In this blog post, we'll explore the fundamentals of HashiCorp Vault and guide you through the process of getting started with this powerful secrets management tool.
What is HashiCorp Vault?
HashiCorp Vault is a robust and highly secure open-source tool designed to manage secrets, encryption keys, and sensitive data in modern IT environments. It provides a centralized and unified platform to store, access, and distribute these critical assets across applications and infrastructure. Vault follows the principle of "secrets as a service," ensuring that only authorized entities can access the secrets they need, while maintaining a clear audit trail of all interactions.
Key Features of HashiCorp Vault:
Dynamic Secrets: Vault can generate short-lived dynamic secrets for various systems like databases, cloud providers, and more. This minimizes the risk of exposure and unauthorized access.
Encryption as a Service: Vault offers an encryption-as-a-service feature, allowing you to encrypt and decrypt data without exposing encryption keys.
Access Control Policies: Fine-grained access control policies ensure that only authorized users and applications can access specific secrets.
Secure Secret Storage: Vault securely stores secrets in an encrypted format, protecting them from unauthorized access.
Auditing and Logging: All interactions with Vault are logged, enabling organizations to maintain a comprehensive audit trail for compliance purposes.
Getting Started with HashiCorp Vault:
Step 1: Installation and Setup
Begin by installing HashiCorp Vault on your preferred platform. Vault supports various operating systems and deployment methods, including binaries, package managers, and container images. Once installed, configure the necessary environment variables and start the Vault server.
Redhat Linux:
- Install the Package:
wget https://releases.hashicorp.com/vault/1.4.0/vault_1.4.0_linux_amd64.zip
Unzip the file:
unzip vault_1.4.0_linux_amd64.zipCopy the Vault in /usr/bin
cp vault /usr/binmkdir /etc/vault mkdir /opt/vault-data mkdir -p /logs/vaultCreate the configuration file:
vi /etc/vault/config.json
under, paste the following content. In that paste the public ip address of Vault server.
{
"listener": [{
"tcp": {
"address" : "0.0.0.0:8200",
"tls_disable" : 1
}
}],
"api_addr": "http://<public ip of the server>:8200",
"storage": {
    "file": {
    "path" : "/opt/vault-data"
    }
 },
"max_lease_ttl": "10h",
"default_lease_ttl": "10h",
"ui":true
}
Create the service file
vi /etc/systemd/system/vault.serviceCopy the following content:
 [Unit]
 Description=vault service
 Requires=network-online.target
 After=network-online.target
 ConditionFileNotEmpty=/etc/vault/config.json

 [Service]
 EnvironmentFile=-/etc/sysconfig/vault
 Environment=GOMAXPROCS=2
 Restart=on-failure
 ExecStart=/usr/bin/vault server -config=/etc/vault/config.json
 StandardOutput=/logs/vault/output.log
 StandardError=/logs/vault/error.log
 LimitMEMLOCK=infinity
 ExecReload=/bin/kill -HUP $MAINPID
 KillSignal=SIGTERM

 [Install]
 WantedBy=multi-user.target
Start and enable the service and check the status
 systemctl start vault.service
 systemctl enable vault.service
 systemctl status vault.service
Step 2: Access in the browser
In the browser, <public ip of vault server>:8200. You can access the vault dashboard.

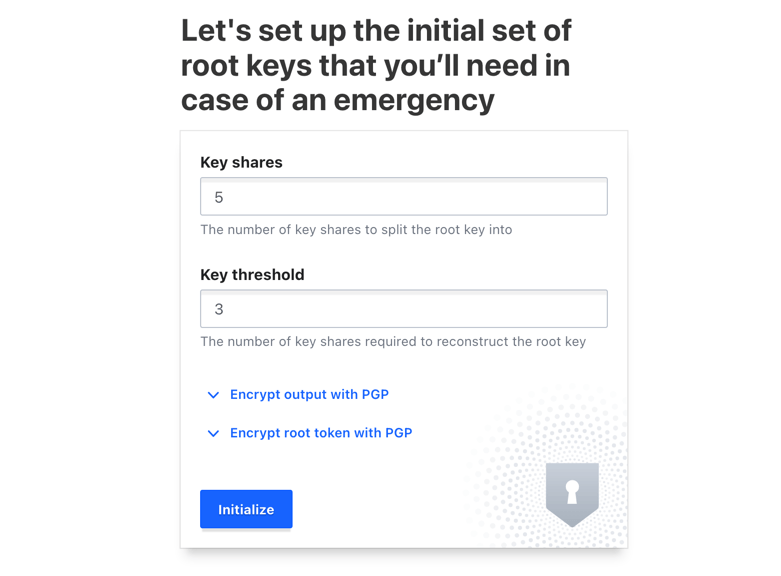
Step 3: Initializing Vault
After starting the Vault server, you need to initialize it to set up the initial root token and unseal keys. The unseal keys are used to unlock the Vault's master key, ensuring that multiple individuals or systems can collaborate to unseal the Vault.
Step 4: Auth Methods and Policies
Vault supports various authentication methods, such as tokens, user-pass, and more. Choose the appropriate auth method based on your environment and configure policies to define access control rules for different entities.
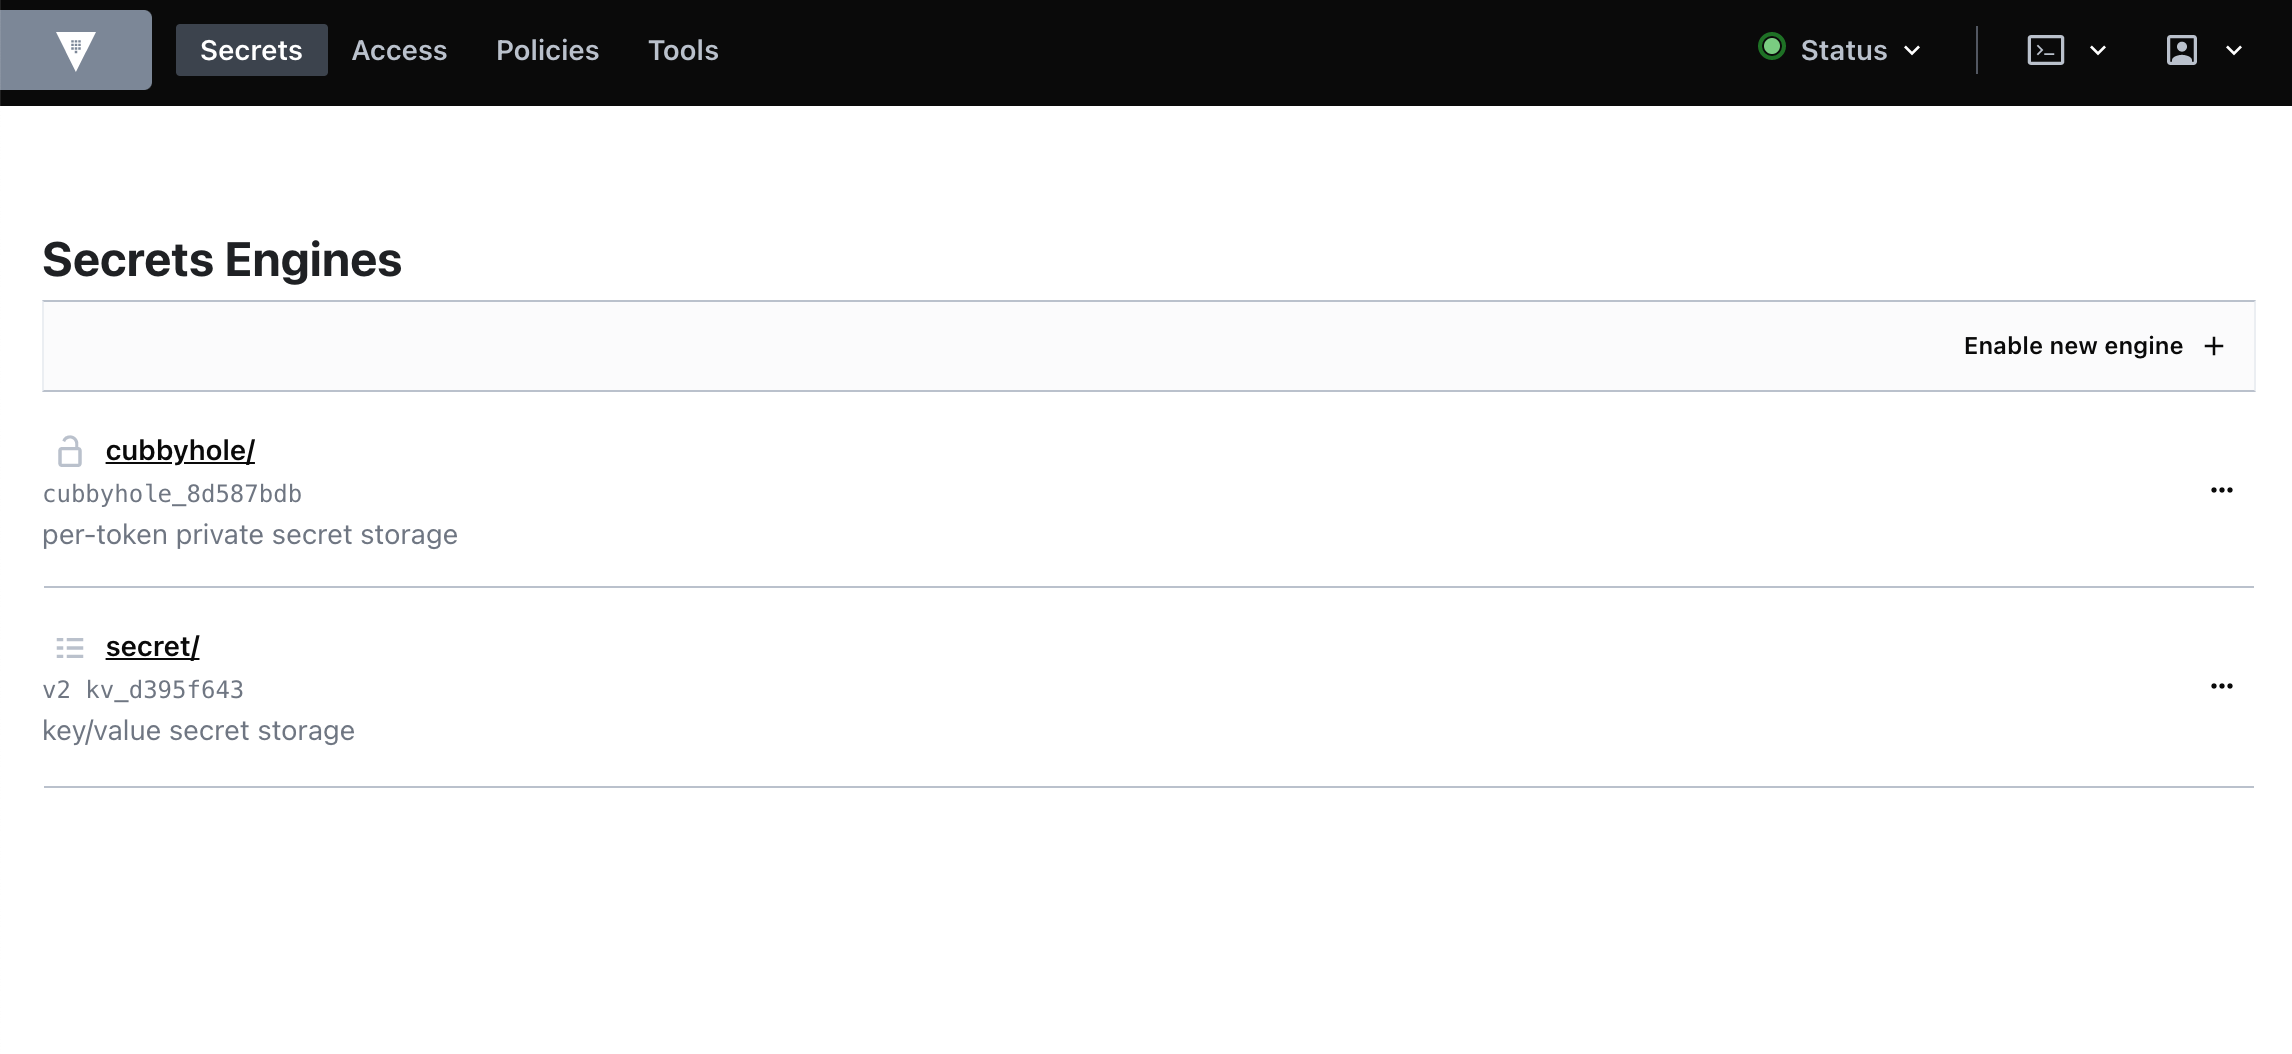
Step 5: Secrets Engine
The real power of Vault lies in its secrets engine. Enable and configure secrets engines to generate dynamic secrets for different services. For example, set up a secrets engine for databases to generate database credentials on-the-fly.
Step 6: Managing Secrets
With everything set up, you can now begin managing secrets. Create, read, update, and delete secrets using Vault's API or CLI. You can also use the Vault UI for a more user-friendly experience.
Best Practices for Using HashiCorp Vault:
Least Privilege Principle: Apply the least privilege principle when defining access control policies to limit access to only what is required for each entity.
Encryption and Transit Secrets Engine: Use the encryption and transit secrets engine to encrypt data both at rest and in transit.
Token Management: Regularly rotate tokens and revoke unnecessary ones to minimize the risk of unauthorized access.
Disaster Recovery: Establish a robust disaster recovery plan to ensure access to secrets in case of Vault server failures.
Conclusion:
HashiCorp Vault is a powerful tool for managing secrets and protecting sensitive data in modern IT environments. By following best practices and understanding its core features, you can ensure the security and confidentiality of your organization's critical assets. Whether you're a small startup or a large enterprise, integrating Vault into your infrastructure will enhance your overall security posture and give you peace of mind knowing your secrets are in safe hands.
Remember, security is an ongoing process, and regular audits and updates are essential to keep your secrets management strategy effective and up-to-date.
So, start your journey with HashiCorp Vault today and safeguard your secrets from prying eyes. Happy vaulting!

